One-Press Deploys: Triggering a Build in Netlify via an Amazon IoT Button
Forget one-click deploys, the new hotness is one-press deploys.
Have I mentioned I <3 Netlify? The way they’ve made deploying a website so simple, mundane, and predictable is actually what makes deploying a website so much fun! Deploying is so easy, in fact, that you could do it at the click press of a button—an internet-of-things button that is!
How I Did It
Note: let me preface this post by saying I’m not entirely sure of the utility of doing what I’m about to describe. Maybe you’ll find it useful, or maybe you’ll find it merely amusing. Either way, I think Jeff Goldblum has some cautionary words about the things Netlify enables you to do:
The Hardware
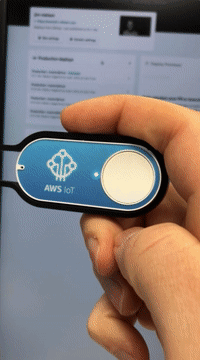
First, you’ll need a IoT button. It’s probably worth noting that, just a couple days ago Amazon apparently decided to kill off the Dash button. Supposedly the service is still supported, but it sounds like buying an IoT button might become more and more difficult in the future? Anyway, here’s the button I purchased. Get ‘em while they’re hot.

Once my IoT button came in the mail, I downloaded the “AWS IoT Button Dev” app.
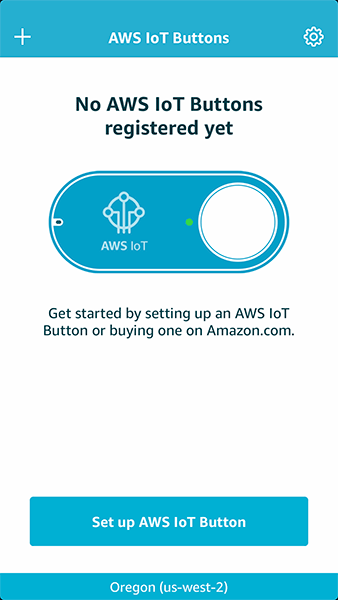
The app allowed me to setup the IoT button via my iPhone (you don’t have to do it this way, you could set it up via AWS’ tools—if you can figure it out). Setting up the button via the mobile app was pretty seamless, all the registration/configuration of the button was taken care of for me.
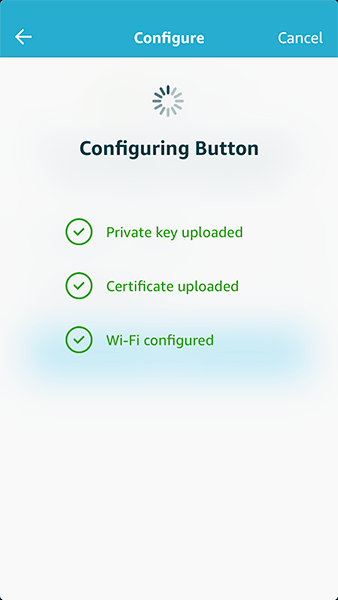
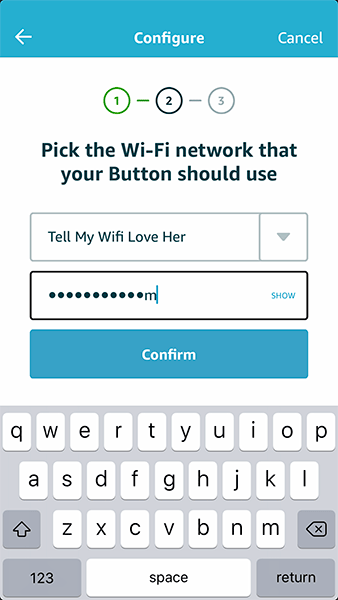
You basically input the device’s identifier (my IoT button came in a box with a handy code I could scan with my phone’s camera). Then you follow the prompts on screen to set it all up, like connecting to your home WiFi.
As a last step, you can assign the button press to trigger a lambda function in AWS. I didn’t have any exisiting lambda functions configured in AWS, which was ok. In fact, it was kind of ideal because it essentially setup a template I merely edited later (more on that below).
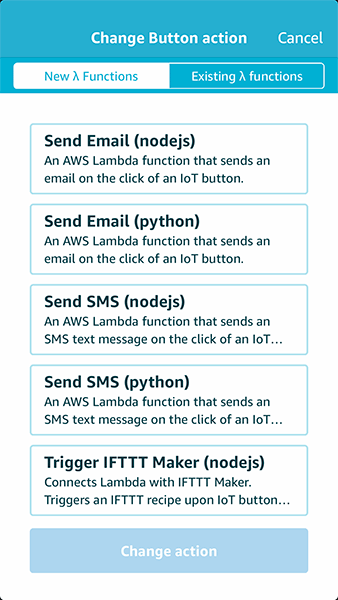
In this particular case, I chose the “Send Email (nodejs)” and the app setup everything for me. From there, I tried pressing the IoT button to see if sending an email worked...and it did!
The Software
So at that point, I had a IoT button that was “hooked up to the cloud” and sending an email when pressed. Now I needed to change it so when I pressed the button, rather than sending an email, it sent a POST request to Netlify.
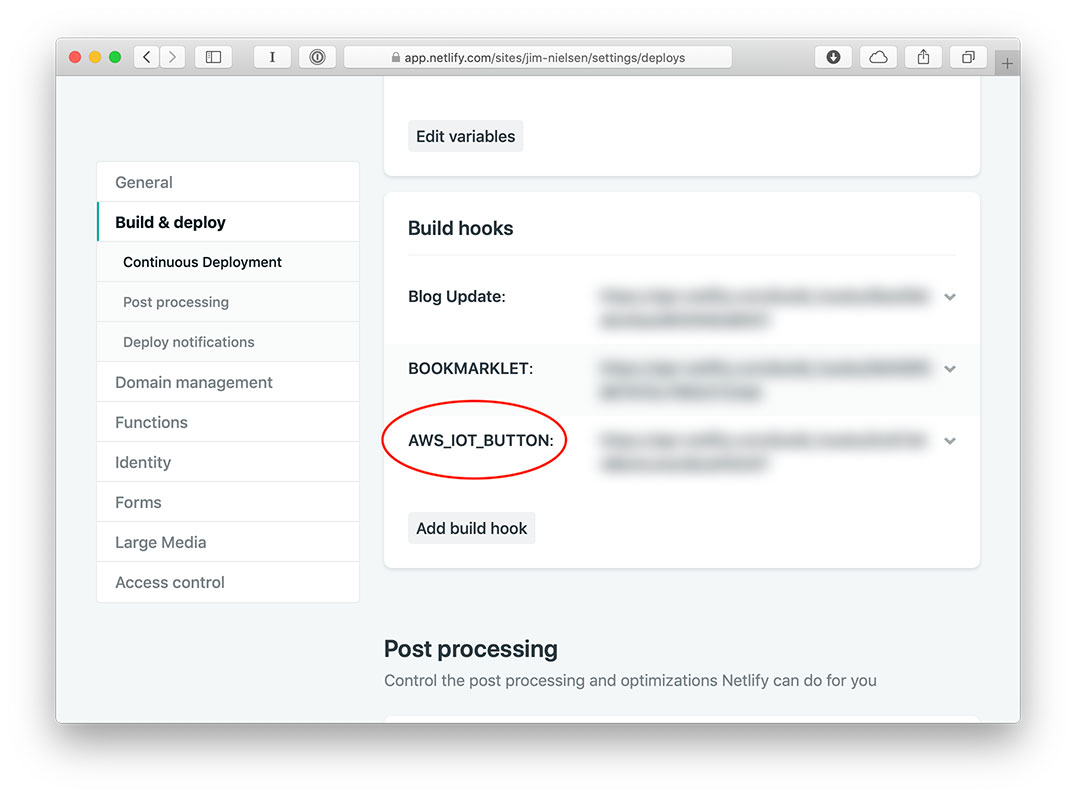
First, I needed a build hook URL from Netlify. So I logged into Netlify, chose the site I wanted a build triggered for, and created a new build hook.
Then I logged in to AWS lambda, found the “Send Email (nodejs)” function that had been created for me, and edited the code to instead send a POST request to my Netlify build hook URL.
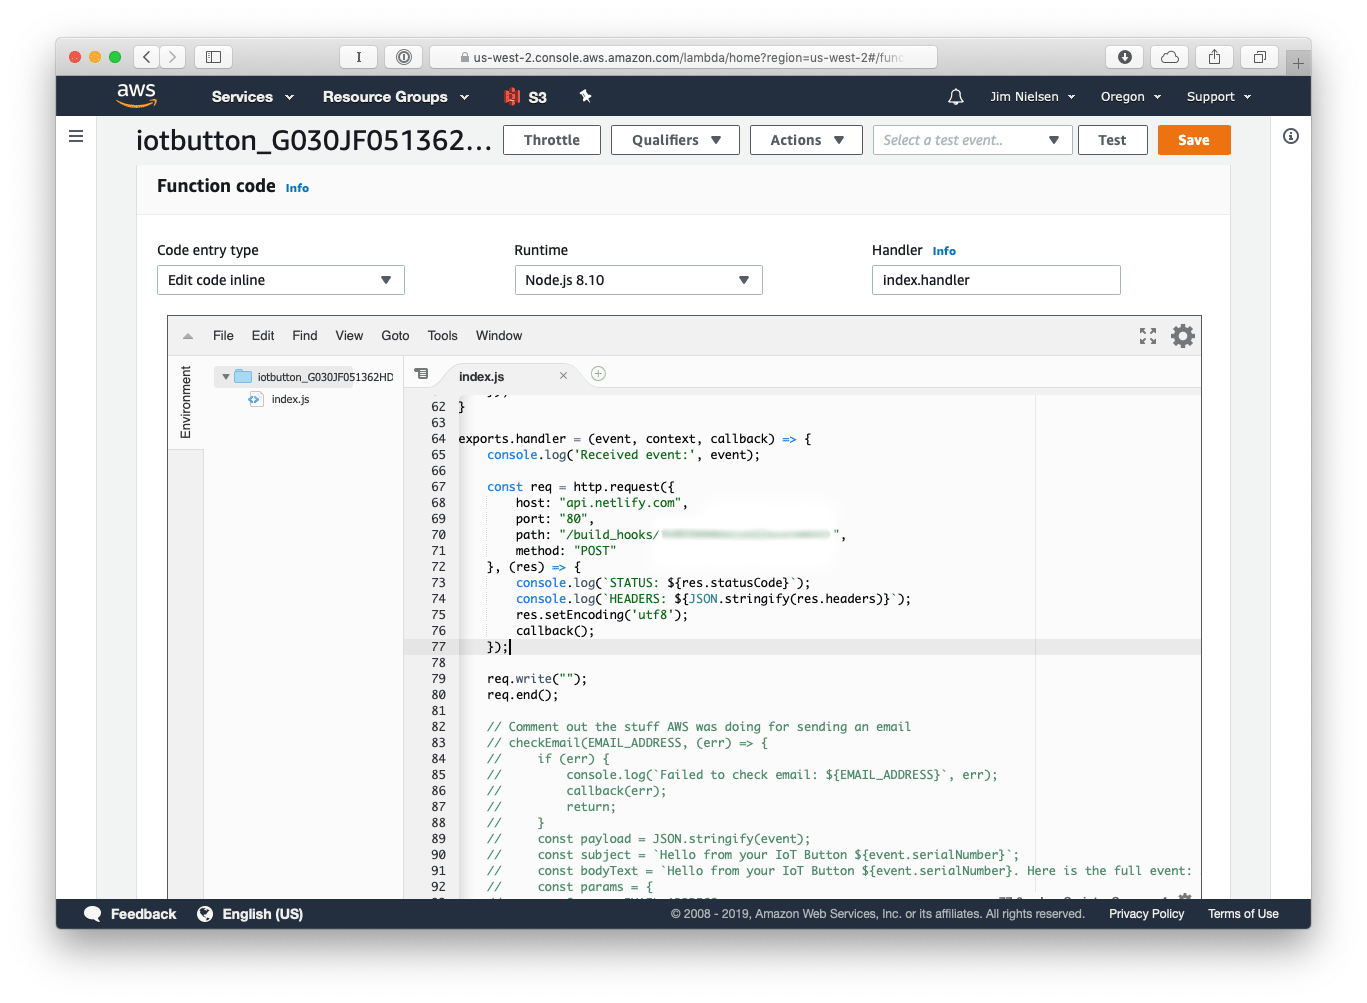
As you can see from the screenshot, I essentially commented out all the code in the exports.handler function that AWS had created for me when setting up the “Send Email (nodejs)” function. Then I wrote my own little script that used node’s http library to send a POST request. Presumably, if you wanted, you could also erase everything in that JS file and do the following and it would work:
'use strict';

const http = require('http');

exports.handler = (event, context, callback) => {
    console.log('Received event:', event);

    const req = http.request({
        host: "api.netlify.com",
        port: "80",
        // Your build hook path here, i.e.
        path: "/build_hooks/1b951d48b4ce4e28cbf993f7",
        method: "POST"
    }, (res) => {
        console.log(`STATUS: ${res.statusCode}`);
        console.log(`HEADERS: ${JSON.stringify(res.headers)}`);
        res.setEncoding('utf8');
        callback();
    });

    req.write("");
    req.end();
};
Once I updated the lambda code, I tried pressing my IoT button and boom! My website was built and deployed through Netlify!
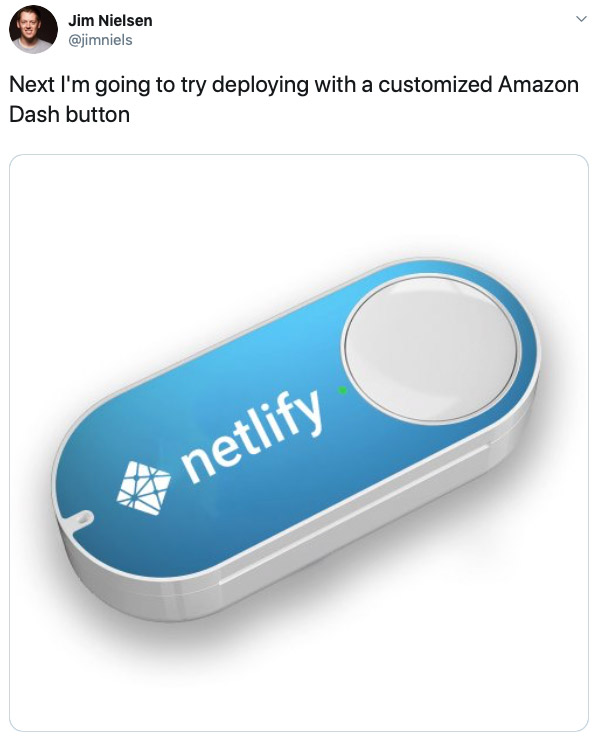
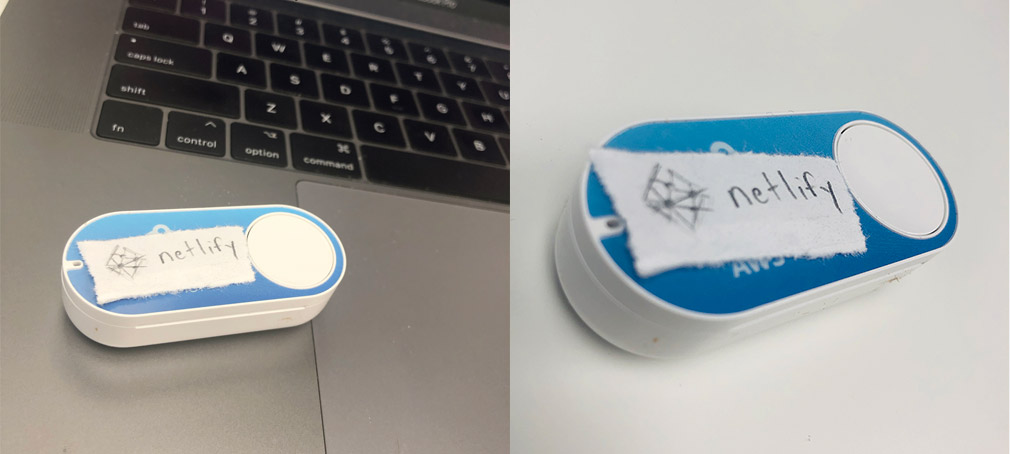
The last thing worth pointing out is my killer custom graphics work on the button. Amazon didn't let me upload a logo for my IoT button, so I had to improvise—hopefully it’s not an infringement on Netlify’s brand guidelines.
Netlify is fun.